Filming the entire activity on the screen
Windows provides built-in features to the image on the screen, to save those moments memorable encounter was in the process of using computers.
However, in case you need to return the entire activity on the screen that are conducted, as a way to share the tricks, or to share certain information from the screen, then you can resort to the help of Cute Screen Recorder.
Download the software here or here.
From the main interface, the Screen Region selection area to allow filming on the screen. You can choose to Customize if you want self zoned the area on the screen to record activity, select the Center if you want to record the areas of the center of the screen, and select Full Screen if you want to record all activity on the screen.
Here, you should select Customize to be able to customize and select the area to shoot accordingly.
In the Video Options, you can format options for video files, frequency etc. After returning. These settings affect the quality and capacity of video files. However, you ought to default to the paver.
Target Output Folder allows you to select a directory to save the file after returning from the desktop. Click the Brows to set up.
For zoned areas to record the activity on the screen, you press the button Select Region, then use the left mouse button, drag to select the area zoned. You can press the button Show Region to review the area was zoned, to know which have circled the area need to select the correct or not.
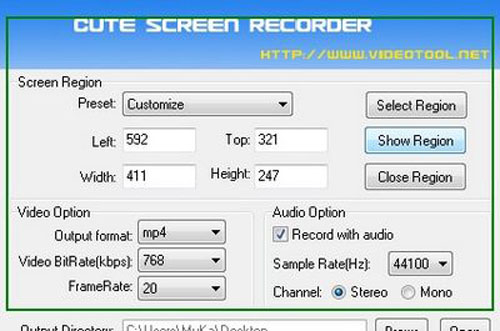
Next, click the Start button to start the process to record 1 selected area. In the process, if you need to pause due to any reason, you can hit the Pause button to pause, then click Start to continue. In the case of wanting to end the process of filming the screen, press the Stop button.
Immediately, the folder containing video files open, turned to be enabled that allows users to quickly select the file returned to share to friends or serve the purpose.
Easy screen capture with ScreenHunter
Usually, to capture the Windows image on your screen, you usually press Print Screen on the keyboard, then use the image editor to edit pictures taken.
However, not everyone knows how to capture screenshot and edited so that there is 1 photo comments.
In this case, ScreenHunter is the perfect choice for you.
Download the software here or here.
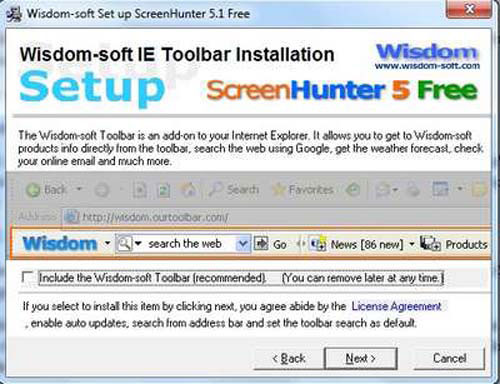
Note: during installation, the software will require installing additional sound taskbar Wisdom. You should leave the option installed to add unnecessary audio taskbar. (as illustrated below)
From the main interface, in items From, the software will allow you to set the options for using the software.
First, in section Single hotkey, by default, the software will choose keys F6 key on the keyboard to do screenshots. Meaning every time press F6, the image on the screen is automatically saved into the image file.
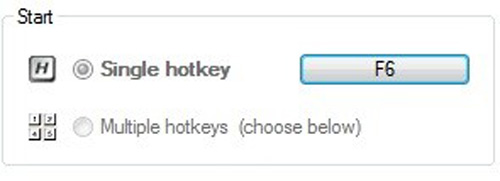
In case you want to choose other keys 1, just click the icon on the screen press F6 and select interface 1 keys respectively. However, you should not change this default key.
In section Capture what, you have 3 options, including:
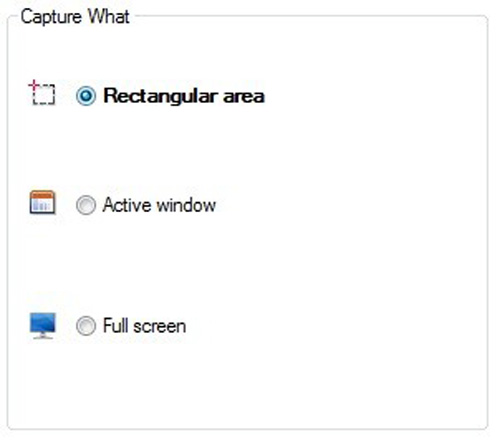
-Rectangular area: allows the screen to capture zoned areas already delineated.
-Active Window: Capture window interface of software being open.
-Full screen: capture the entire screen, Windows.
You should choose the first option, to correctly zoned areas that you want to capture.
At entry To (from the menu on the left), which allows users to set the option to save the file after the shooting.
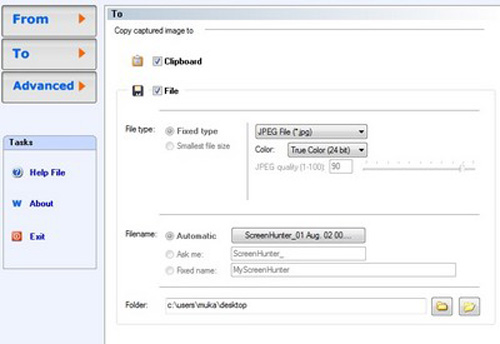
-Mark on the Clipboard If you want to save photos taken on the clipboard (to be able to paste the image into the software text editor or photo editing software).
-Mark on File If you want the output file image free software every time press the shutter button (button F6).
+ In File Type below allows you to select image file formats like software auto-save.
+ Folder allows setting the directory to automatically save the file.
To start capturing the image screen, you press F6 (hot keys of software), or click Capture Now on the main interface.
The software will allow you zoned the area on screen to capture the content. Use the left mouse button, drag and drop to zoned area. Shortly after releasing the left mouse button, the software will automatically immediately screenshots and save the image file as you have set.
Above are 2 compact software useful and especially absolutely free, allowing you to easily handle and record a moment of encounter is when you are using your computer, to help you do not overlook any particularly memorable moments and does happen to your computer.
More topics: Mien phi filming chup anh imager Windows, mien phi filming chup anh phan mem, Windows, Windows, computers, phan memInvite you to welcome to read the article about the COMPUTER INTERNET, selection tricks at 7 h 30, 13 h, and h weekdays in 24h.com.vn
Searching for guys who are tracking your Facebook
The usual things in Windows 7 you should know
Screen advertising world most sexy cause fever on the network
In The Quang Huy (DT)
No comments:
Post a Comment